


How to change brake pads
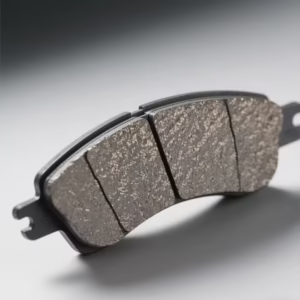
Your brake pads are one of the most critical components in your vehicle’s braking system. Over time, they wear down and need to be replaced to ensure safe and effective braking. Whether you’re a hands-on enthusiast or a workshop technician, knowing how to correctly change brake pads is essential. Here’s a straightforward guide to help you get the job done right.
Before You Start: Safety First
Always work on a cool vehicle and ensure it’s parked on a flat, stable surface. Use proper tools, wear gloves and safety glasses, and engage the handbrake before starting.
Tools and Equipment You’ll Need:
New brake pads (make sure they match your vehicle model)
• Car jack and jack stands
• Wheel wrench or impact gun
• C-clamp or brake caliper tool
• Wrench or socket set
• Brake cleaner spray
• Anti-squeal or copper grease
• Rags or paper towels
Step-by-Step Process:
1.Loosen the Wheel Nuts
Before jacking the car up, slightly loosen the wheel nuts while the car is still on the ground. This prevents the wheel from spinning once lifted.
2.Lift the Vehicle and Remove the Wheel
Use a jack to lift the car and secure it with jack stands. Remove the loosened wheel nuts and take off the wheel to access the brake assembly.
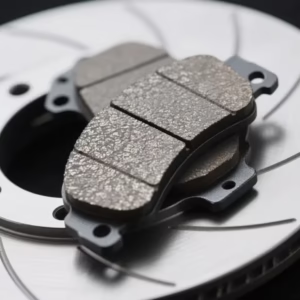
3.Remove the Caliper
Locate the brake caliper (the component holding the brake pads). Use a socket or wrench to remove the caliper bolts. Once loose, carefully slide the caliper off the brake disc.
4.Remove the Old Brake Pads
Slide the old brake pads out of their clips. Take note of their positioning so you can install the new ones correctly.
5.Compress the Caliper Piston
Use a C-clamp or brake caliper tool to gently push the caliper piston back into the housing. This creates space for the new, thicker pads.
6.Install the New Brake Pads
Apply a thin layer of anti-squeal grease (We recommend silicon based grease, not copper grease as copper grease tends to keep heat in the brake pads themselves leading to glazing) to the back of each new pad (avoid getting grease on the friction material). Insert the new pads into the caliper bracket.
7.Reinstall the Caliper
Carefully place the caliper over the new pads and reinsert the caliper bolts. Tighten them securely according to your vehicle’s specifications.
8.Refit the Wheel
Reattach the wheel and hand-tighten the nuts. Lower the vehicle back to the ground and fully tighten the wheel nuts in a crisscross pattern.
9.Pump the Brake Pedal
Before driving, pump the brake pedal a few times to restore hydraulic pressure and ensure the pads seat correctly.
Final Checks
Test your brakes at low speed before driving normally.
• Listen for any unusual noises (a slight noise is normal for the first few stops).
• Recheck fluid levels and inspect for leaks.
• If your brakes feel spongy you will need to have them bled.
• If you feel the car pulling to one side under braking or grinding noises while driving and/or braking, your caliper is probably seized and needs to be serviced ASAP. Do not leave this as it can quickly ruin your new set of brake pads.
When to Replace Brake Pads
Most brake pads should be replaced every 30,000 to 70,000 km, depending on driving conditions and pad material. Always replace pads when you hear squealing, feel vibrations, or notice reduced braking performance.
💡 Pro Tip from our Brake & Clutch Components
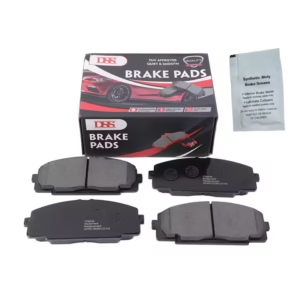
Always use high-quality brake pads designed for your vehicle. We offers a full range of OEM-spec and heavy-duty pads for passenger, off-road, and commercial vehicles — ensuring reliability, safety, and performance every time you stop.
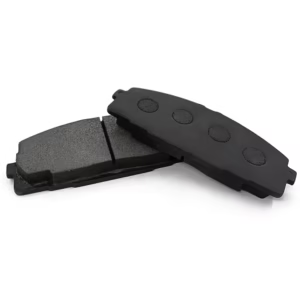
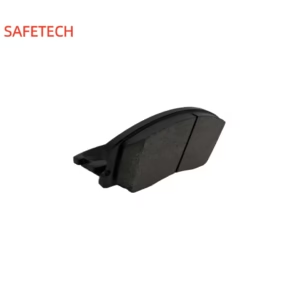
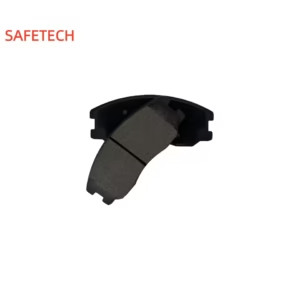
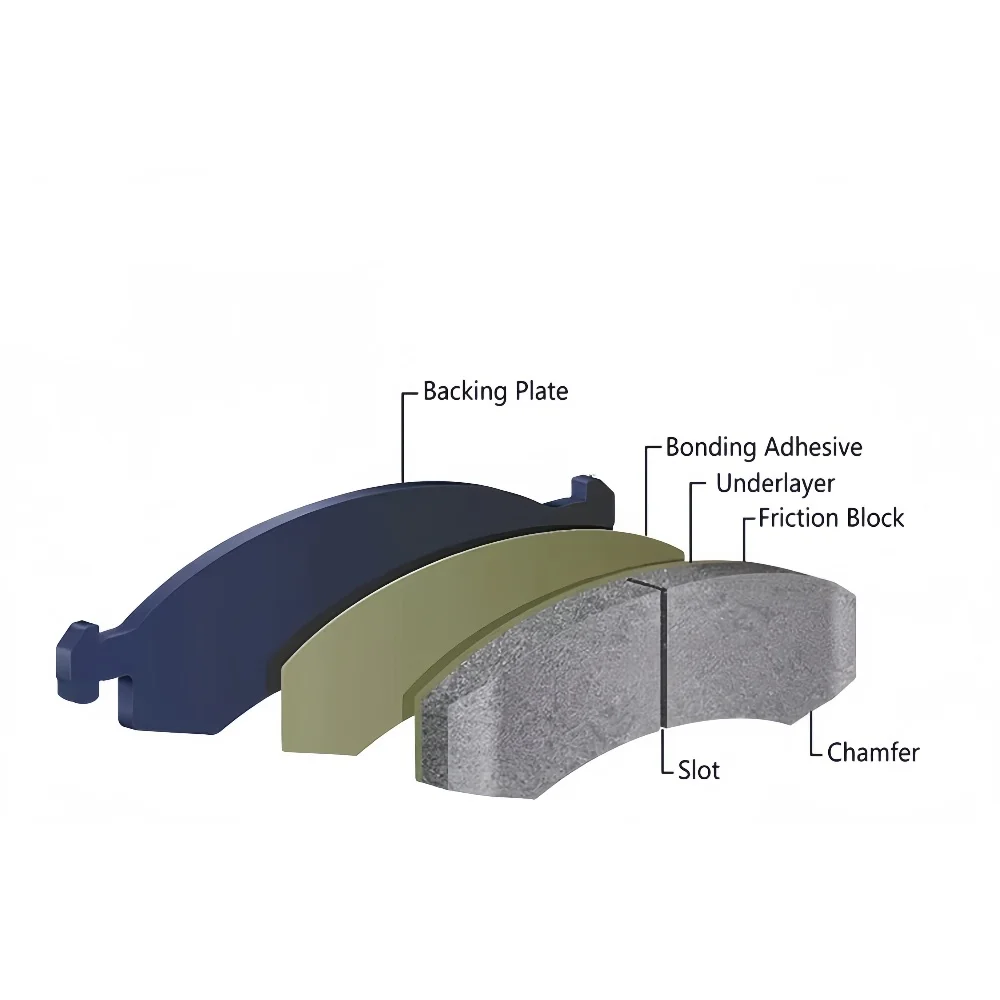
Product structure design
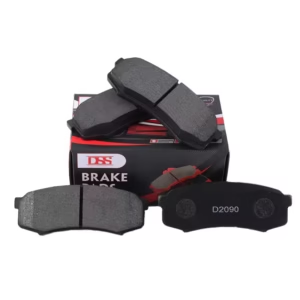
Professional stable formula

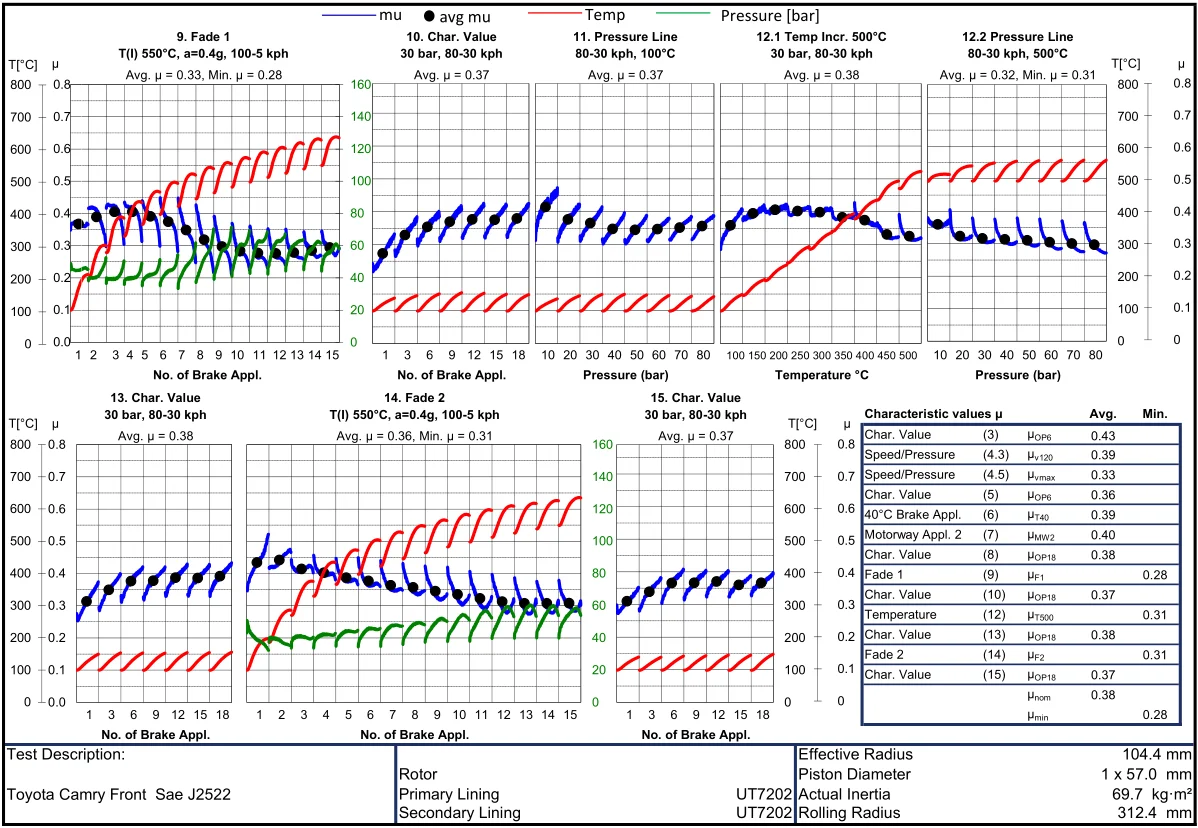
Quality Testing